

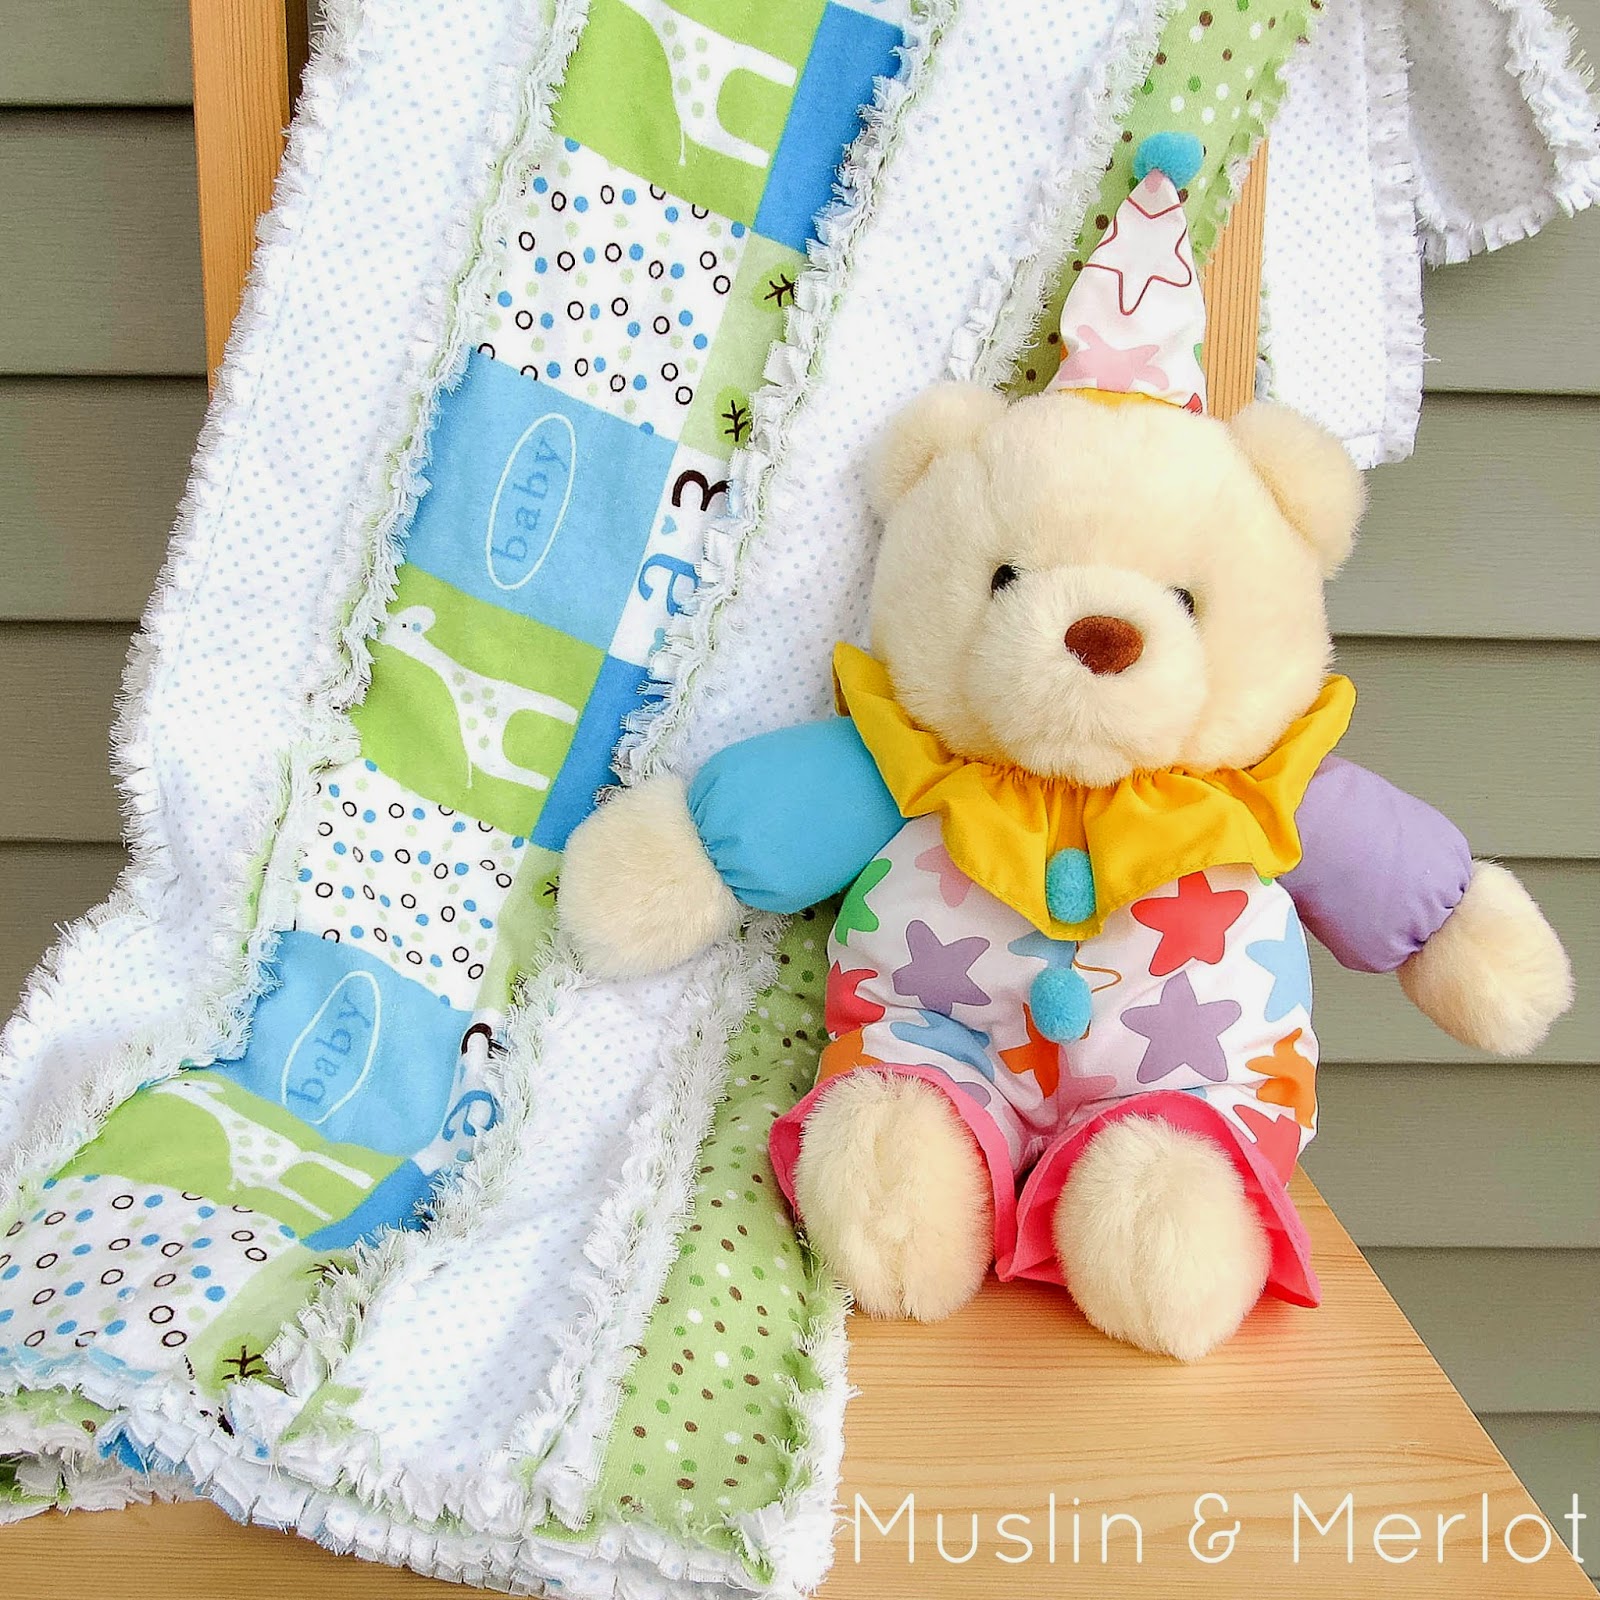
Get out your rotary cutter, mat and six-inch wide acrylic ruler! We're making a rag quilt out of six inch squares!
Materials List for 40" x 60 " crib size quilt:
- Sewing machine with walking foot, pins, iron, rotary cutter, mat, acrylic ruler
- 1/2 yard of 5 different fabrics. Four cotton prints/solids, one minky dot.
- 1 1/2 yards cotton fabric for backing layer.
- 1 1/2 yards coordinating flannel for stuffing layer. Edges will be visible in finished quilt.
- Coordinating thread
- Fine tooth comb
- Spring-Loaded Scissors (I mistakenly listed this as a hinged scissors - sorry for the confusion!)
- Color catcher sheets - can be found in laundry aisle.

1. Cut fabric into 6 inch squares. 1/2 yard of five fabrics is probably more than you'll need BUT I've been running into trouble at the fabric store. The people who cut the fabric invariably end up cutting it at a slight slant. I've had to 'square' the fabric at home and end up losing at least a few inches in the process. Irritating.
Cut:
- 80 squares of backing fabric
- 80 squares of stuffing flannel
- 16 squares EACH of all front fabrics (cotton and minky)
2. Lay out each square of backing fabric. Eight squares wide by 10 squares long. Lay the stuffing flannel squares onto the backing. Lay out your quilting squares on top of the stuffing flannel. Make sure all the edges line up.
I gave each of the five top fabrics a letter and laid them out accordingly. A B C D E. The sequence for the first five lines is:
A B C D E A B C
D E A B C D E A
B C D E A B C D
E A B C D E A B
C D E A B C D E
Repeat the sequence for the last five lines.
Make a stack of the first line of fabric. Take it to your sewing machine.
3. Sew the squares corner to corner. It's easiest to run the squares through in a chain. No need to backstitch.
4. Snip threads and sew the squares from the other diagonal. Each square should have an X running through it!

5. Now that the first line of squares has been "X'd", lay them out in the ABCDE sequence. Match the first two squares (A & B) together, side by side. The right side of the first square (A) will be sewn onto the left side of the second square (B).
Lay the second square (B) FACE DOWN. Lay the first square (A) FACE UP. The backing fabric of each piece will be facing the other.
6. Sew down the right edge of the squares with a 1/2 inch seam allowance. Do the same with squares C & D, E & A and B & C.
Sewing the squares together as instructed will enable you to run the four twins through the machine without stopping and snipping.
7. Now attach B to C, D to E, and A to B. Congrats! The first line of your quilt has been constructed! Do the same for the next nine lines.
8. Like so :-).

9. Iron the seams open on each line of fabric. DO NOT allow the iron to touch the Minky! It will melt the minky!
Pin the bottom of the first line to the top of the second line. Again, backing fabrics should be facing one another. Sew the lines together with 1/2 inch seam allowance. Try to keep the ironed seams flat - it'll help the fabric go through your machine easier.
10. Pin the bottom of the second line to the top of the third line. Sew with 1/2 inch seam allowance.
11. Pin and sew the fourth line to the fifth line. It's easier to sew in sections - less weight for your machine to handle at one time!
12. Pin and sew the bottom of the third line to the top of the fourth line. At this point the top five lines should be sewn together.
Follow steps 10 through 12 to attach the bottom five lines together.

13. Sew the bottom of line five to the top of line six. Yay! All ten lines are attached!
14. Turn the quilt over. Iron the back side of the quilt.
15. Sew around the entire perimeter of the quilt with a 1/2 inch seam allowance. Backstitch all corners.
16. Snip a tiny square out of each of the four corners of the quilt - four tiny squares total. Make sure you do not cut through the seams!

17. Use a hinged scissors to cut all seam allowances into fringe - inside squares and outer squares. No more than 1/4 inch between cuts.
Sorry, this is going to take awhile ...
18. Take your quilt outside. Using a fine-toothed comb, vigorously comb the fringe. This will loosen the threads and save your clothes washer! Shake and comb until you're satisfied with the results.
19. Place two sheets of color catcher in the washing machine. Add laundry soap and your quilted masterpiece. Wash on a delicate or casual cycle.
Put it in the dryer. Empty the lint trap every 15 minutes or so.
20. For gifting: Fold into thirds one way. Fold into thirds the other way. Double tie a piece of 4 inch wide piece of fleece around the folded quilt.
Done! Soft and snuggly! Many thanks to ZB for entrusting the construction of her son's blanket to me :-).


Shared this idea at these fabulous parties!


Your quilt looks so cozy and fun. Pinned. Thank you!
ReplyDeleteThanks for stopping by, Kathi!
DeleteI love this! Thanks for linking up at Link'n Blogs. Shared on Google+ :)
ReplyDeletexo
Daniela
http://iputabirdonit.blogspot.com
Thank you so much!
DeleteWhat a beautiful quilt! I love the tutorial....it makes me think even I could make a sweet quilt. And...I've discovered a tool I never knew existed...hinged scissors!!
ReplyDeleteThanks for sharing your extraordinary quilt with us at Project Inspire{d}!
Thanks Diane! This is definitely a quilt for people who don't normally quilt. VERY forgiving! And I mis-labeled the scissors. It's a "spring-loaded" scissors!
DeleteThis is such a cozy looking blanket! I wish I was a seamstress, but sadly I am not :( My grandmother makes beautiful quilts though and one of them (the I Spy Quilt) inspired some creative play for my boys. Have you ever heard of this type of quilt before?? http://munchkins-and-moms.blogspot.com/2014/05/i-spy-quilt.html
ReplyDeleteThat is so much fun! I love the I spy quilt idea!
DeleteCongrats! You are featured on this week's Do Tell Tuesday link party as the most viewed link and have been pinned to our features board! Feel free to grab a button and link up this week too. :) http://www.vintagezest.com/2014/06/do-tell-tuesday-27-with-features.html
ReplyDeleteDiane @ Vintage Zest
Thanks Diane!
DeleteI absolutely love this quilt! I love rag quilts, but I especially love this one because of the nautical theme. Super cute and I'm pinning it!
ReplyDeleteNavy Wifey Peters @ Submarine Sunday Link Party
Great rag quilt! I've made these. They are fun.
ReplyDeleteI have a question, I'm hoping you can help me with . . .I have a question about my sewing machine.
ReplyDeleteI have been very happy with a Singer Touch and Sew 626. The machine was built around 1966. I have not had any problems with it until just recently. I took it in for service and was told I would need a new 'bobbin winder drive' . The part would have to be ordered and it would cost $65. Labor would cost $150.
I could buy a new machine for around $100 - but should I? I'm not inclined - but am I being impractical? I do household sewing - I want something practical and durable. I really want to keep my old machine, but is that practical?
I would really like your opinion.
Thanks!
Oh, that's a hard decision! I looked up your model. Some of the 626's have steel gears (instead of nylon) which are pretty nice. This link will show you how to find out which kind of gears you have: http://www.oldsewingear.com/news/singer-626-touch-sewwith-steel-gears
DeleteWith steel gears, it would probably be worth fixing. The fixes may cost more than the machine is "worth" but you'll have a machine you trust and you're comfortable with.
No steel gears? Might be time to start looking for a new machine. I found mine by looking for good reviews on Amazon - Brother CS6000i ($150 and free shipping). Something to consider: some of the smaller (cheaper) machines aren't strong enough for heavy quilting and I'd put my CS6000i right at the edge of that description. They also might only be able to handle small spools of thread and/or not allow the use of all desirable feet. Everything in life is a trade-off :-).
Keep me posted on what you decide to do!
Heidi
Love this quilt! It is gorgeous! I will have a new baby cousin in a few months and she is doing a nautical theme. Can't wait to make this for them! One quick question on Step 2...I think I know the obvious answer, but want to make sure! It says to lay out all the back pieces in an 8 square wide x 10 square long formation. Those pieces should be face down, correct? Then the flannel is then placed on top, face up and the top fabric on top of that is also face up? This is the only logical way I could think of, but again, wanted to be 100% sure!! Thank you!!!
ReplyDeleteThank you! Yes, you are absolutely correct about how the fabric should be laid out!
DeleteThe pretty fabric prints that you want to see - the 'right' sides - should be facing out, away from the flannel. The 'wrong' sides will be laying against the flannel :-). Sorry, it's kind of hard to see in my pictures since the fabric had a lot of bleed-through.
If you use solid-colored or subtle patterned flannel for the stuffing layer, it won't really matter which side of the flannel is up or down. All the visible edges will get fringed and frayed, anyways!
Perfect! Thank you so much!
DeleteSo sorry you've had issues at the fabric store with fabric being cut crooked. I cut fabric at one of the larger stores, and would like to let you know that we do our very best to cut the straightest lines possible. Sometimes the fabric is printed crooked, sometimes the selvages aren't aligned perfectly, sometimes customers tug and re-arrange the fabric as we cut. Although it's a pain, you can certainly return the fabric if it is not cut properly. The other thing you could do is ask the person cutting to measure the opposite side of the cut, as well, to be sure that you've gotten your 'full cut'.
ReplyDelete